Wiring RGBWW LED Strips: A Step-by-Step GuideUpdated 6 months ago
Introduction
RGBWW LED strips extend the color palette of traditional RGB strips by including both warm white and cool white LEDs. This addition allows for a finer tuning of white light temperatures alongside the vibrant color range of RGB LEDs. Properly wiring these strips is crucial to harness their full potential and achieve the desired ambiance. This guide will take you through the detailed process of wiring RGBWW LED strips for a comprehensive and versatile lighting setup.
Understanding RGBWW LED Strips
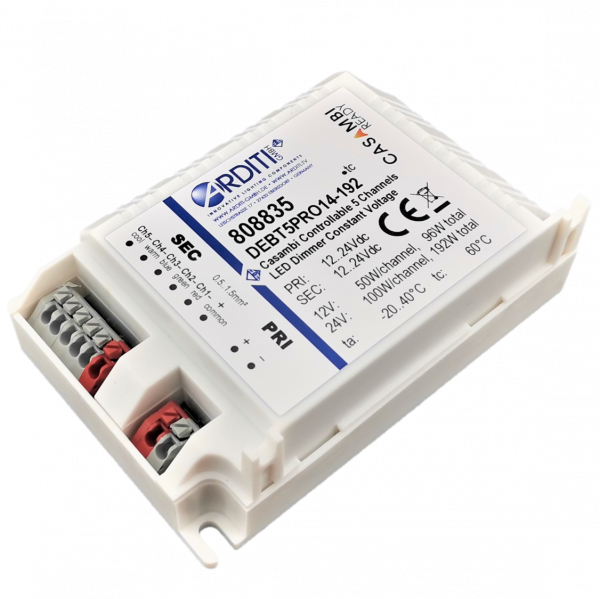
RGBWW LED strips consist of red, green, blue, warm white, and cool white LEDs. They require a multi-channel controller (typically a 6-channel for RGBWW) to individually manage each color and the two shades of white light, offering an unparalleled range of lighting moods and effects.
Materials Needed
- RGBWW LED strip
- RGBWW LED controller (compatible with your LED strip)
- Power supply (matched to the voltage and sufficient wattage for your LED strips)
- Wire (appropriate gauge)
- Wire strippers
- Connectors (specifically designed for RGBWW strips)
- Soldering iron and solder (optional, for a more secure connection)
- Heat shrink tubing or electrical tape (for insulation)
Wiring Process
Measure and Cut the LED Strip:
Ensure that the LED strip length is suitable for your space by measuring and cutting it at the designated cut points.
Prepare the Power Supply and Controller:
- Confirm that the power supply's specifications align with the requirements of your LED strip.
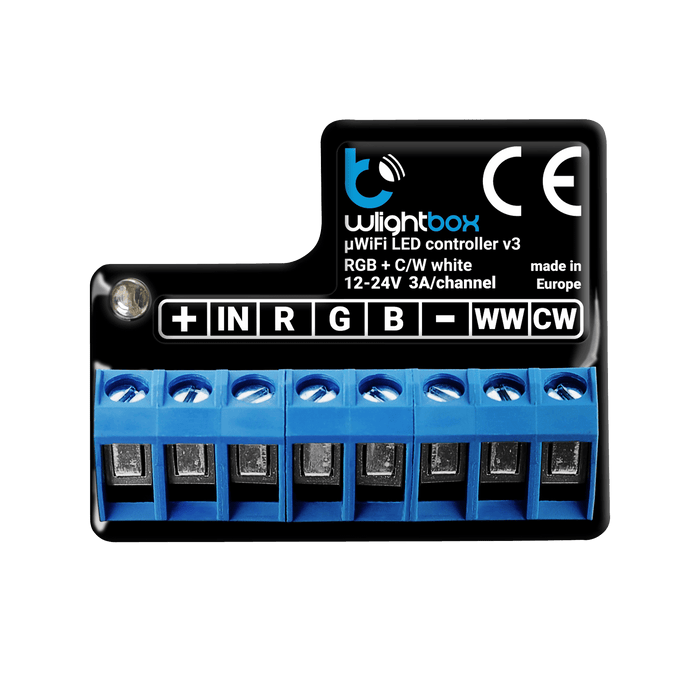
- Familiarize yourself with the RGBWW controller's wiring diagram, which will include terminals for red, green, blue, warm white, cool white, and common anode (+). (See video further down)

Strip and Tin the Wires (if soldering):
- Strip the wire ends using wire strippers.
- Tin the wire ends and the pads on the LED strip with solder to enhance the electrical connection.
Connect the Wires to the LED Strip:
Soldering Method: Carefully solder the wires to the appropriate pads on the LED strip—R (red), G (green), B (blue), WW (warm white), CW (cool white), and + (common anode).
Connector Method: Properly attach connectors, ensuring good contact with the pads and correct polarity.
Connect the LED Strip to the Controller:
Attach the wires from the LED strip to the corresponding output terminals on the RGBWW controller, adhering to the color coding and white shades. (See video below)
Connect the Controller to the Power Supply:
Connect the input terminals of the RGBWW controller to the power supply, ensuring proper polarity. (See video below)
Wiring a RGBWW controller:
Insulate the Connections:
Apply heat shrink tubing or electrical tape over all connections to prevent short circuits.
Test Your Setup:
Power up the system and utilize the controller to test the RGBWW strip. Verify the functionality of all colors, warm white, and cool white to ensure all connections are correctly made.
Tips for Successful Wiring
Attention to Polarity and Channels: Accurately match the polarity and ensure each color channel, including warm white and cool white, is correctly connected.
Moderate Heat Application: Be cautious with heat when soldering to avoid damaging the LED strip or its backing.
Ensure Stable Connections: Whether soldered or connected via connectors, make sure each connection is firm and stable to avoid any inconsistencies in lighting.
Conclusion
Wiring RGBWW LED strips provides a rich palette of colors and white light shades, setting the stage for dynamic and nuanced lighting designs. Following these steps and ensuring secure and precise connections allows you to capitalize on the full potential of your RGBWW strips. A carefully executed installation ensures a versatile, vibrant, and consistent lighting solution, enhancing the atmosphere of any environment.